I'm going to warn you all right now, this is a pretty in-depth review with lots of pictures. I received these from a PR company to, I assume, help hype up the unveiling of the
Nail HQ. I hope you know me well enough by now to know that these types of things don't effect my reviews. I just wanted to address that before I dive into the huge heap of pictures that I took, and included in this mini novel.
So, this is the Sally Hansen Salon Insta Gel Stips. Basically you take the regular Sally Hansen strips, slap on some gel polish, cure it, and you're good to go for 2 weeks. Now, I have a few problems with this set, which I will go over shortly. My opinion/writings are going to be scattered throughout the pictures.
1. It's about $20 for the whole thing. Cool cool, it's a gel manicure, there's a lot that goes into it. I mean, look at all the stuff you get! It's like a nail party in a vox.
2. Well, let's look at what we have here: 2 packets of strips (with 8 in each pack, and we all know they are meant to be one strip per nail), nail file/pick, bottle of gel, 2 nail cleanser pads (used to remove the tackiness of the gel after curing), the curer, adapter thingy, and instructions. That's a lot! Right?
3. Yes, BUT take into account that those little packets are supposed to be one per hand, and the nail cleanser pads? Yeah, one per hand too. Which could only mean one thing: You're paying $20 for a one time use batch of products. Yikes!
Ok, it looks pretty bad now, but here is the method to my madness in making it work:
1. Use one packet per hand. Just size up the strips, and as long as your nails aren't too long, cut the ends. You should have plenty of room for another nail.
2. The strips are nothing special, they are plain boring nail strips.
3. There is a lot of gel in that tiny bottle, and the curer is reusable (go figure!). I can't imagine why you can't use this on more SH strips, or even actual polish (I have yet to test this out).
4. Use up all the pads? That's fine, hand sanitizer works just as good. Yes, I did try this out. The gel wreaks, and I still had some tackiness left over (I tried to only use one pad for both hands, it didn't quite work out), and I had a pocketbac. It works.
Oh glorious horribly lit mess.
The steps are simple: 1) apply the strips on all your nails like normal, smooth smooth smooth, 2) then one at a time apply the gel top coat, 3) stick your finger under the light to cure it for 30 seconds (there is a timer built in), 4) Once that is done, use the cleansing pad (or hand sanitizer if you're feeling like a rebel) and you're done! Good to go =)
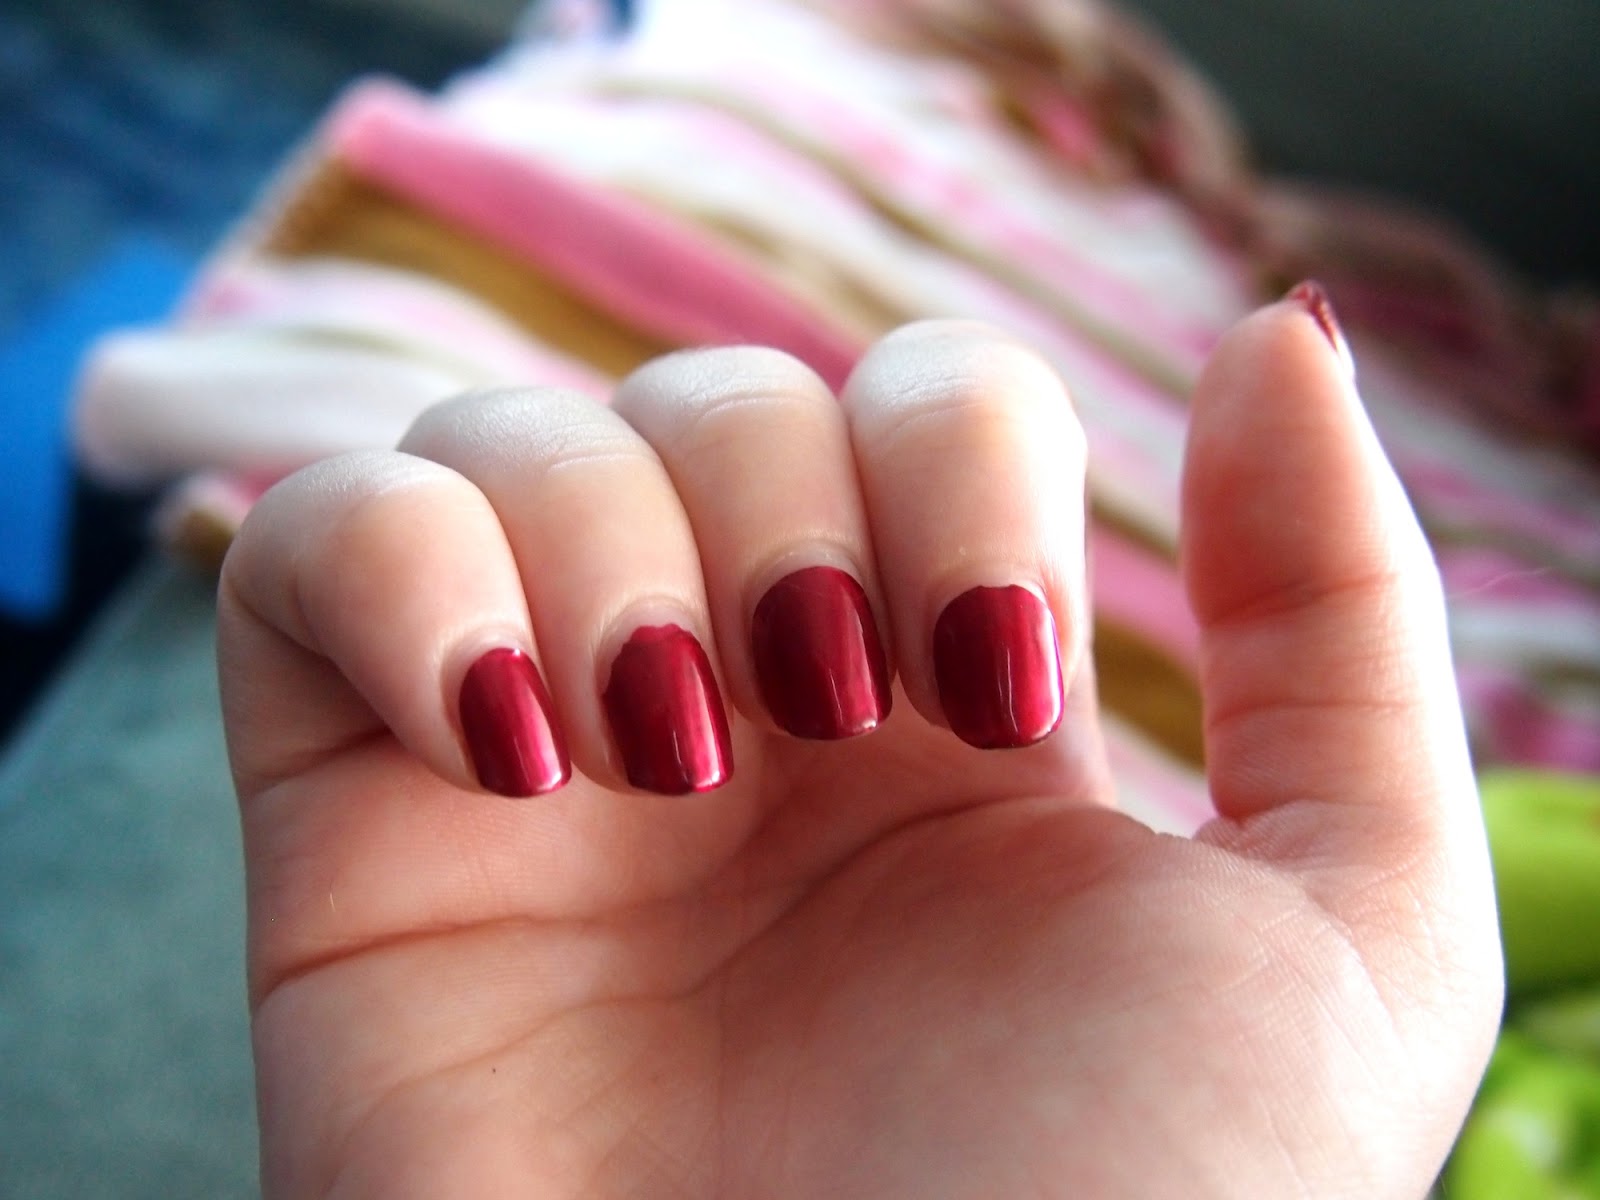
The color is Wine Not, which I went out and bought in bottle form shortly a few days later.
Kitty break! This is Kali, my cat Olivia's sister/littermate. She's my mother's cat.
Now, fast forward to two weeks later:
This little booger fell off the Monday before my two weeks are over (which was today). My hair somehow managed to wedge itself under the strip. Like a bunch of strands, and it was quite painful. I was happy to see it go. I ended up applying the bottle version of Wine Not to my index finger.
Overall, the chips aren't too bad. Some tip wear, which is too be expected, and a few towards the bottom of the polish (not sure how that happened).
Left hand, index finger is nail polish, not the strip (it fell off as stated above)
On the ring finger you can see towards the base that I applied some nail polish to hid the chip. I did this several times throughout the past two weeks, especially on the thumb nail below.
These gashes were first caused by my husbands truck (a nail, bolt, something scraped the pain when I was getting something out, about 3 days in. The next gash happened as I was trying to pick off a label.
Overall, I was pleased. I did begin to lose my mind about 5 days in. I wanted to change the color, but I stuck it out, even when I had to fight the urge to pick off the nail polish before the 2 weeks was up. Next time, I wont let it stay on for 2 weeks, maybe a week at most. My nails grow so quickly, as you can clearly see.
A two week manicure isn't for me, I'm someone who changes her nail polish as if her life depends on it. But I was pleased with the overall outcome. I wasn't expecting the quality to be quite as good. It is nothing but nail strips, so there's not a lot to bind the polish to the nail. You're not supposed to use base coat, for whatever reason. Not that it matters because mine has gone MIA. Plus, it's an at home gel manicure. How many of you would expect for it to look this good at 2 weeks? Minus the nail growth, to the untrained eye, and at first glance, it looks like a professionally done manicure. Which brings me to my next point: Is the $20 price point worth the hassle? If you plan on reusing the products, then yes I think so. It's a cheap way to do gel manicures. Is it worth it for one use? Unless you have some sort of phobia with going to a nail salon, no. I don't think it's worth it. For a similar price, maybe a bit more, you'll have more colors/brands to choose form, plus the added bonus of having a professional apply your gel manicure, making your money well worth it.
There are
currently only three colors available: Shell We Dance, Red My Lips, and Wine Not.
----------------------------
Ok, final part of this journey: Removal. Oh, and I thought the 2 weeks was brutal, wait till you get to the removal!
The PR rep was kind enough to send these along with the gel set.
You're supposed to use the pad while it's inside the packet, and yet the stick it in upside down. It baffles my mind. It dries out pretty quickly though, which doesn't seen logical since you're instructed to press your nails in/on the pad for 2 minutes.
I didn't like these. Only my pinky came clean, and it left the rest sticky, and hard to get off. I honestly got so frustrated that I began picking off the polish. I don't recommend this at all. Seriously, it did some serious damage to my nails. I couldn't even pick all the polish off, so I had to use the pad. Except the pad dried up before I could finish, so I had to open a second packet.
There was also this weird residue that stuck to my skin. It was difficult to remove.
Overall both products are hit or miss, I don't really recommend the remover pads. It really depends on what you're looking to get out if you're considering the gel strips. It's a great product, for what it is, but it's not suited for everyone. Likewise, it's perfect for others. I'm thinking about using this in the spring, i have some of this year's strips that I got on clearance. I'll probably post on facebook about how that works out.
What do you think? Would you try this out? Is it even worth it for you? What about salon gel manicures, have you ever had one done? I haven't, I'm too indecisive with my polish.
*PR sample